Dessert Chocolate Fudge Brownies
Highlighted under: Cookie Recipes
I absolutely love making these Chocolate Fudge Brownies because they are the ultimate indulgence for any chocolate lover. The rich and gooey texture is heavenly, and the decadent flavor will satisfy even the most serious sweet tooth. With a few simple ingredients and straightforward steps, I can whip these up in no time. Whether I'm serving them at a gathering or savoring them alone, these brownies never fail to impress. Trust me, once you take a bite, you won’t be able to stop at one!
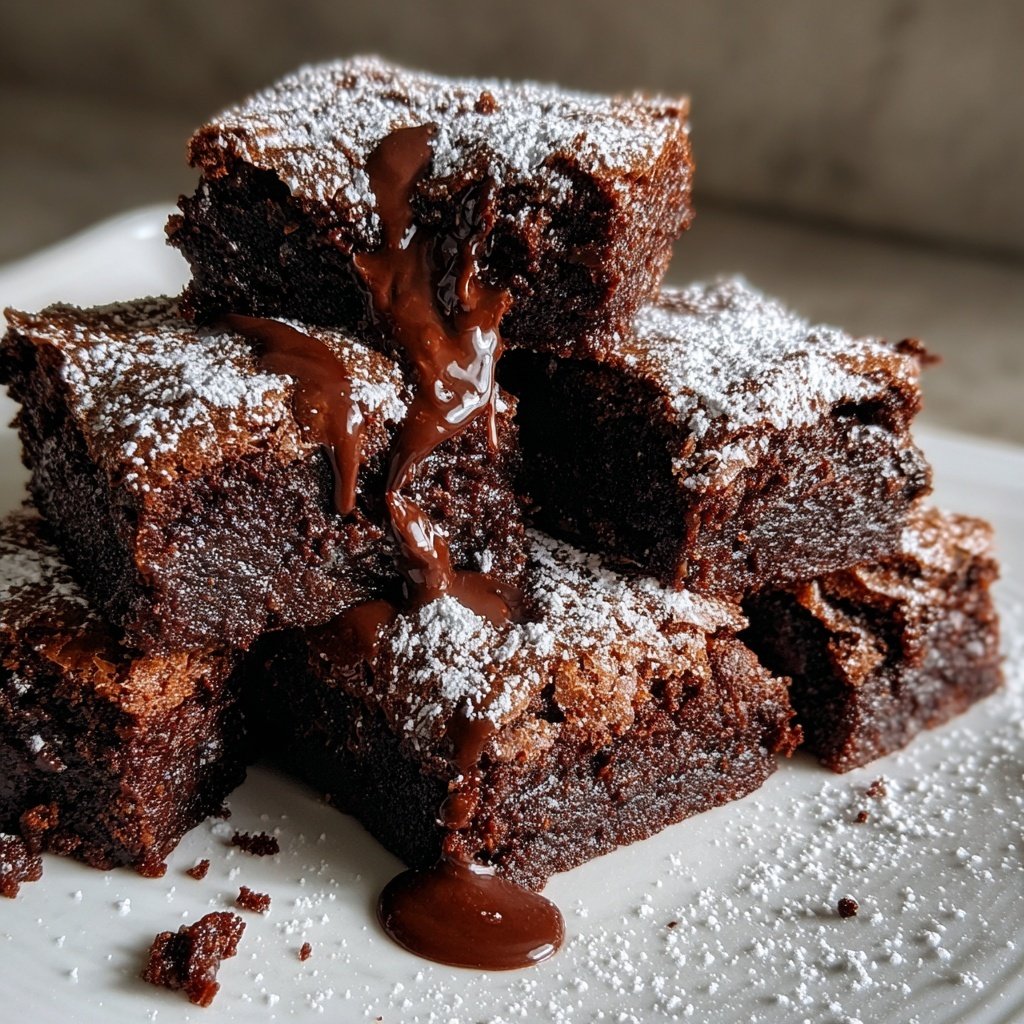
When I first tried making fudge brownies, I was amazed by how easy they were to prepare. I experimented with different chocolate types and found that using dark chocolate gave the best depth of flavor. The key to achieving that rich fudginess is to not overbake them. I always prefer to take them out when the edges are set but the center still looks a bit undercooked; they'll continue to firm up as they cool!
Another little tip I learned is to let the brownies rest for at least 30 minutes before cutting them. This waiting period allows the flavors to meld beautifully, and the texture transforms into something truly irresistible. Each brownie slice reveals a glossy top layer, and the inside is a perfect balance of fudgy and chewy. I can't recommend these enough!
Why You Will Love This Recipe
- Rich chocolate flavor paired with fresh orange zest
- Creamy texture that melts in your mouth
- Perfect for celebrations or as a sweet indulgence
Unlocking the Perfect Brownie Texture
Achieving the perfect brownie texture requires a careful balance between the ingredients and baking time. The key to that rich, gooey interior lies in the total baking time. While a firmer brownie might bake closer to the full 25 minutes, you want to take these out when the edges are set but the center feels slightly underbaked. This approach creates that much-desired fudgy center. A toothpick inserted into the center should come out with a few moist crumbs - that’s your golden rule for testing doneness.
The combination of both butter and chocolate chips contributes significantly to the brownies' creamy mouthfeel. The butter not only serves as a fat source, aiding in moisture retention, but also enhances the overall flavor. My tip is to use high-quality chocolates for the chips and cocoa powder, as they directly influence the final taste. Bittersweet or semi-sweet chocolate chips work beautifully, offering a contrasting sweetness that complements the cocoa powder's rich flavor.
Ingredient Tips and Substitutions
While this recipe calls for unsalted butter, you can consider using salted butter if that’s what you have on hand; just reduce the added salt to a pinch. It’s also a great way to add extra dimension to your brownies. Moreover, if you're short on eggs, a common substitute is using flaxseed meal mixed with water. Combine 1 tablespoon of ground flaxseed with 2.5 tablespoons of water for each egg required. This will yield a similar binding effect while remaining dairy-free.
For those looking to make a gluten-free version, swapping the all-purpose flour with a 1:1 gluten-free flour mix can work wonders without compromising the texture. Additionally, consider adding a sprinkle of sea salt on top of the brownies right before baking. This will elevate the chocolate flavor, making the combination even more decadent. If you are a fan of flavor twists, try adding a teaspoon of espresso powder to the batter; it enhances the cocoa while remaining undetected in flavor, providing a deeper chocolate experience.
Storing and Serving Your Brownies
Proper storing can keep these brownies fresh for several days. Once completely cooled, I recommend wrapping them tightly in plastic wrap or keeping them in an airtight container at room temperature for up to four days. For longer storage, you can freeze them. Cut the brownies into squares and layer them between parchment paper in an airtight container to prevent sticking. They can be frozen for up to three months and thawed at room temperature when you’re ready for indulgence.
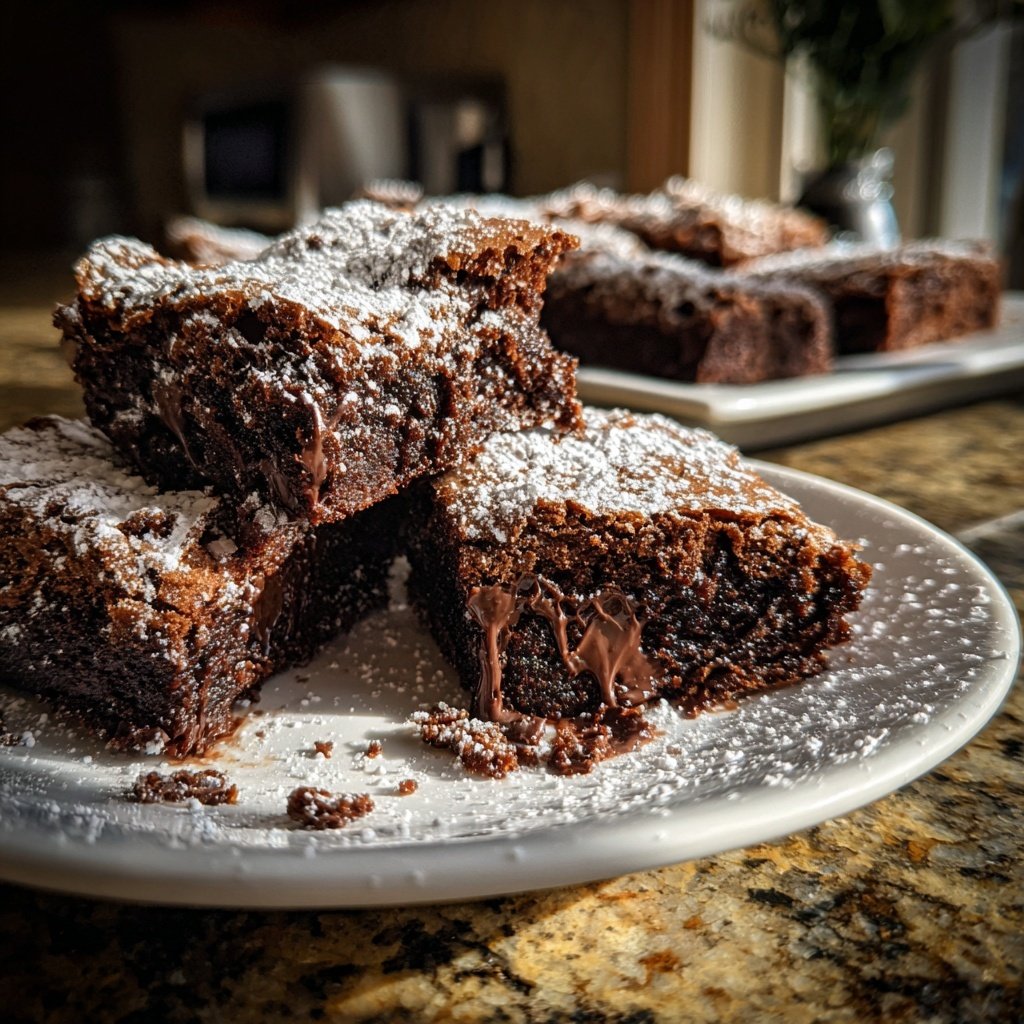
When it comes to serving, there's no limit to how you can enjoy these brownies. They can be delightful on their own or enhanced with a scoop of vanilla ice cream on top for a classic dessert experience. Drizzling with a homemade ganache or sprinkling with nuts can also add a special touch. For an elegant presentation, consider dusting with powdered sugar or serving with a side of fresh raspberries. The flavor combinations and serving opportunities are endless for these rich chocolate brownies!
Ingredients
For the Brownies
- 1 cup unsalted butter
- 2 cups granulated sugar
- 4 large eggs
- 1 teaspoon vanilla extract
- 1 cup all-purpose flour
- 1 cup unsweetened cocoa powder
- 1/2 teaspoon salt
- 1 cup chocolate chips
Instructions
Preheat Your Oven
Preheat your oven to 350°F (175°C) and grease a 9x13 inch baking pan.
Melt the Butter
In a medium saucepan, melt the butter over low heat. Once melted, remove from heat and stir in the sugar, eggs, and vanilla extract until well combined.
Combine Dry Ingredients
In a separate bowl, mix together the flour, cocoa powder, and salt.
Mix Everything Together
Gradually add the dry ingredients to the wet mixture, stirring until just combined. Fold in the chocolate chips.
Bake
Pour the batter into the prepared baking pan and spread evenly. Bake for 25 minutes or until the edges look set but the center remains slightly gooey.
Cool and Serve
Allow the brownies to cool in the pan for about 30 minutes before slicing into squares and serving.
Pro Tips
- For even more flavor, try adding a sprinkle of sea salt on top before baking or mix in some nuts for added texture.
Making it Ahead
If you're planning to make these brownies for an event, you can prepare the batter ahead of time. Once mixed, the batter can be stored in the fridge for up to 48 hours. Just ensure to bring it back to room temperature before pouring it into the pan and baking. This can actually enhance the flavors as the ingredients meld together during the resting period.
Alternatively, you could bake the brownies a day in advance. To maintain their gooeyness, wrap them tightly without letting any air in, and store at room temperature. This waiting period can allow the flavors to develop even further, resulting in a rich and harmonious taste.
Troubleshooting Common Issues
If you find your brownies come out too dry, it might be because they were overbaked. Adjust your oven’s baking time, checking for the gooey center on the next batch. Remember, every oven is unique, and variations in heat can affect the end result. Using an oven thermometer can help you get precise measurements if you’re consistently facing this issue.
On the other hand, if your brownies are too gooey, it may mean they needed a bit longer in the oven. Be cautious with the gooey center, as the carryover heat will continue to cook them slightly after being removed from the oven. Letting them cool completely in the pan is crucial, as this will also help them firm up as they set.
Questions About Recipes
→ Can I use cocoa powder instead of melted chocolate?
Yes! Using cocoa powder will still yield delicious brownies. Just follow the recipe as is.
→ How should I store leftover brownies?
Store them in an airtight container at room temperature for up to 3 days or refrigerate for up to a week.
→ Can I freeze these brownies?
Absolutely! Wrap them tightly and freeze for up to 3 months. Thaw in the fridge before serving.
→ What is the best way to cut brownies?
Using a plastic knife can prevent them from sticking and keep the edges smooth.
Dessert Chocolate Fudge Brownies
Created by: The Chefianfoods Team
Recipe Type: Cookie Recipes
Skill Level: Beginner
Final Quantity: 16 brownies
What You'll Need
For the Brownies
- 1 cup unsalted butter
- 2 cups granulated sugar
- 4 large eggs
- 1 teaspoon vanilla extract
- 1 cup all-purpose flour
- 1 cup unsweetened cocoa powder
- 1/2 teaspoon salt
- 1 cup chocolate chips
How-To Steps
Preheat your oven to 350°F (175°C) and grease a 9x13 inch baking pan.
In a medium saucepan, melt the butter over low heat. Once melted, remove from heat and stir in the sugar, eggs, and vanilla extract until well combined.
In a separate bowl, mix together the flour, cocoa powder, and salt.
Gradually add the dry ingredients to the wet mixture, stirring until just combined. Fold in the chocolate chips.
Pour the batter into the prepared baking pan and spread evenly. Bake for 25 minutes or until the edges look set but the center remains slightly gooey.
Allow the brownies to cool in the pan for about 30 minutes before slicing into squares and serving.
Extra Tips
- For even more flavor, try adding a sprinkle of sea salt on top before baking or mix in some nuts for added texture.
Nutritional Breakdown (Per Serving)
- Calories: 380 kcal
- Total Fat: 26g
- Saturated Fat: 15g
- Cholesterol: 195mg
- Sodium: 85mg
- Total Carbohydrates: 32g
- Dietary Fiber: 3g
- Sugars: 24g
- Protein: 6g