Global Japanese Sushi Rolls
Highlighted under: Travel Food | World Menu
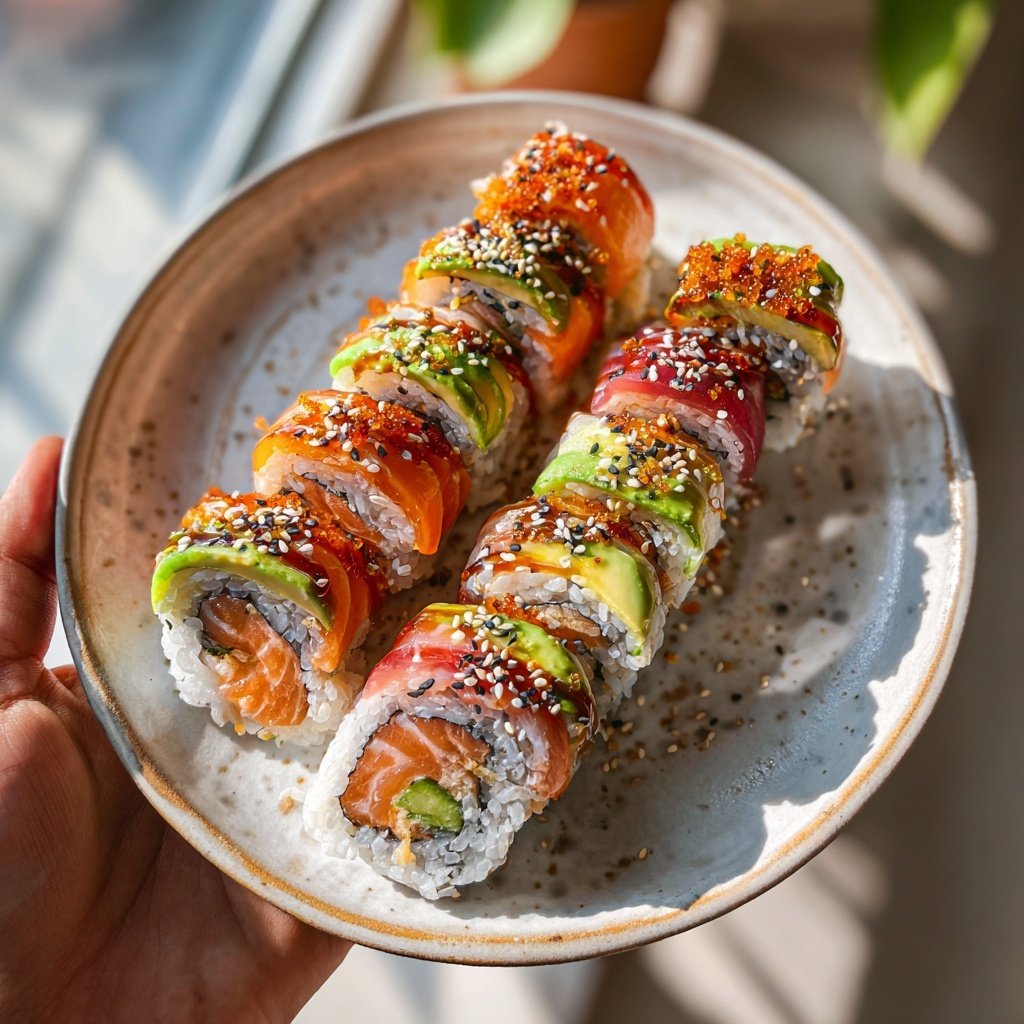
I love making sushi rolls at home! Whenever I roll up a fresh batch of Global Japanese Sushi Rolls, I feel like I’m bringing a touch of Japan right into my kitchen. It’s an exciting experience that combines vibrant flavors, colorful ingredients, and a bit of artistic flair. Plus, the satisfaction of crafting these rolls myself is unmatched. Whether you’re preparing a family meal or hosting a fun gathering with friends, these sushi rolls are sure to impress. Let’s dive into this delicious and interactive culinary journey together!
Making these Global Japanese Sushi Rolls was not only a cooking session but also a bonding experience for us. We gathered fresh ingredients from a local market and decided on our fillings, balancing flavors and textures. I found that using sushi mats made rolling much easier, achieving a perfect tightness that enhances presentation.
As we experimented with different combinations, I learned that the quality of the sushi rice is crucial; it's essential to rinse it thoroughly for the best sticky texture. Our favorite was the spicy tuna roll, which we crafted with a kick of mayo and avocado. These rolls brought excitement to our meal.
Why You'll Love This Recipe
- Fresh, customizable ingredients to suit every palate
- The fun and social aspect of making sushi with friends or family
- A delightful combination of flavors that transports you to Japan
Understanding Sushi Rice
Choosing the right sushi rice is crucial for that authentic texture and flavor. Short-grain sushi rice has a higher starch content, which helps create the ideal sticky consistency needed for rolling. Remember to rinse the rice thoroughly until the water is clear, as this removes excess starch and prevents it from becoming overly gummy. Typically, you should rinse it for at least 5 minutes to ensure a perfect balance.
After cooking, seasoning your rice with rice vinegar, sugar, and salt is what elevates the flavor profile. Allow it to cool to room temperature to enhance the sticky yet fluffy nature of the rice. It should feel slightly glossy when mixed properly, indicating that it's ready to be used in your sushi rolls.
Selecting and Preparing Fillings
When it comes to choosing your fillings, fresh is key. Using seasonal vegetables such as crisp cucumbers, ripe avocados, and carrots will add both flavor and texture contrast. Additionally, lean proteins like spicy tuna or crab not only enhance taste but also provide essential nutrients. If you’re looking for a vegetarian option, consider using marinated tofu or additional vegetables for a satisfying bite.
Take care to slice your fillings uniformly; about 1/4-inch thick strips work best. This ensures even distribution of flavors in each roll. Organizing your fillings in advance will make the assembly process smooth and enjoyable—it's a fun opportunity to get creative with flavor combinations.
Rolling Technique for Perfect Sushi
The way you roll your sushi can make or break the experience. Make sure the nori sheet is shiny side down on a bamboo mat; this aids in peeling off the roll later without sticking. When spreading the rice, use wet hands to prevent it from clumping. Leave about an inch of nori at the top clear to easily seal the roll after assembling your fillings.
As you roll, apply gentle pressure to maintain a compact shape without squeezing too hard, which could burst the nori. If you’re rolling larger sushi such as a dragon roll, using two sheets of nori might help to maintain rigidity. A sharp knife is essential for cutting; a quick, sawing motion works best to achieve clean slices without squishing the roll.
Ingredients
Ingredients for Sushi Rolls
Sushi Ingredients
- 2 cups sushi rice
- 2 1/2 cups water
- 1/4 cup rice vinegar
- 1 tablespoon sugar
- 1 teaspoon salt
- Nori sheets
- Fresh vegetables (cucumber, avocado, carrots)
- Proteins (spicy tuna, crab, shrimp)
- Soy sauce for serving
- Pickled ginger and wasabi for garnish
Make sure to have everything prepared before you start rolling!
Instructions
Instructions
Prepare the Sushi Rice
Rinse the sushi rice under cold water until the water runs clear. Drain and combine with water in a rice cooker, then cook according to the manufacturer's instructions. Once done, transfer to a bowl and mix with rice vinegar, sugar, and salt. Let it cool slightly.
Prepare Fillings
While the rice cools, prepare your fillings by slicing vegetables and proteins into thin strips. Organize them neatly so they’re easy to grab while assembling your rolls.
Assemble the Sushi Rolls
Place a nori sheet on a sushi mat, shiny side down. Wet your hands to prevent sticking and spread a thin layer of sushi rice over the nori, leaving a small edge. Lay your fillings parallel to the edge of the nori closest to you, then carefully roll the mat away from you while applying slight pressure.
Cut and Serve
Once rolled, use a sharp knife to cut the sushi into bite-sized pieces. Serve with soy sauce, pickled ginger, and a dab of wasabi on the side.
Enjoy your homemade sushi rolls with friends and family!
Pro Tips
- For a perfect roll, ensure you apply even pressure while rolling to keep the sushi tight. You can also experiment with different fillings according to your taste preferences.
Serving Suggestions
Sushi rolls shine when served in a visually appealing manner. Arrange the cut pieces on a platter, and consider adding a small bowl of soy sauce in the center for easy dipping. Incorporating pickled ginger and wasabi around the sushi not only adds flavor but also creates a vibrant presentation. This will delight your guests and enhance their tasting experience.
For a fun twist, try pairing your sushi with side dishes such as edamame, miso soup, or a seaweed salad. These add contrasting flavors and textures that complement the sushi beautifully. Alternatively, you can create a sushi platter with various roll flavors to provide an interactive tasting experience.
Make-Ahead Tips
Preparing sushi rice ahead of time can save you valuable moments when entertaining. Cook and season your rice, then store it in an airtight container at room temperature for up to 4 hours. This method maintains its ideal texture and flavor, but avoid refrigeration, as chilled rice may lose its stickiness.
As for fillings, pre-slicing vegetables and proteins can streamline your rolling process. Store the cut ingredients wrapped tightly in plastic wrap to maintain freshness—this can keep them crisp for several hours. Just remember to use them within a day to keep flavors vibrant and avoid sogginess.
Variations and Flavor Combos
Don’t hesitate to experiment with unique fillings! Try incorporating grilled vegetables, mango, or even cream cheese for a fusion touch. You can also create rolls with various themes; for instance, a tempura roll using crispy shrimp and vegetables adds a delightful crunch.
For those who enjoy a kick, consider adding spicy mayo or Sriracha directly into your filling mix. This adds an exciting heat that could enhance the overall flavor profile of your sushi. The sky's the limit when it comes to creating your signature rolls—let your culinary creativity shine!
Questions About Recipes
→ Can I use brown rice instead of sushi rice?
While brown rice can be used, it won’t provide the same sticky texture that sushi rice does. It will be firmer and take longer to cook.
→ How do I store leftover sushi?
Wrap leftover sushi tightly in plastic wrap and refrigerate for up to 24 hours. It's best enjoyed fresh, however.
→ Is sushi gluten-free?
Sushi can be gluten-free; just ensure to use gluten-free soy sauce and avoid any ingredients that contain gluten.
→ What other fillings can I use?
You can use a variety of fillings, like cream cheese, tempura vegetables, or fruits like mango. Get creative!

Global Japanese Sushi Rolls
Created by: The Chefianfoods Team
Recipe Type: Travel Food | World Menu
Skill Level: Intermediate
Final Quantity: 4 rolls
What You'll Need
Sushi Ingredients
- 2 cups sushi rice
- 2 1/2 cups water
- 1/4 cup rice vinegar
- 1 tablespoon sugar
- 1 teaspoon salt
- Nori sheets
- Fresh vegetables (cucumber, avocado, carrots)
- Proteins (spicy tuna, crab, shrimp)
- Soy sauce for serving
- Pickled ginger and wasabi for garnish
How-To Steps
Rinse the sushi rice under cold water until the water runs clear. Drain and combine with water in a rice cooker, then cook according to the manufacturer's instructions. Once done, transfer to a bowl and mix with rice vinegar, sugar, and salt. Let it cool slightly.
While the rice cools, prepare your fillings by slicing vegetables and proteins into thin strips. Organize them neatly so they’re easy to grab while assembling your rolls.
Place a nori sheet on a sushi mat, shiny side down. Wet your hands to prevent sticking and spread a thin layer of sushi rice over the nori, leaving a small edge. Lay your fillings parallel to the edge of the nori closest to you, then carefully roll the mat away from you while applying slight pressure.
Once rolled, use a sharp knife to cut the sushi into bite-sized pieces. Serve with soy sauce, pickled ginger, and a dab of wasabi on the side.
Extra Tips
- For a perfect roll, ensure you apply even pressure while rolling to keep the sushi tight. You can also experiment with different fillings according to your taste preferences.
Nutritional Breakdown (Per Serving)
- Calories: 450 kcal
- Total Fat: 12g
- Saturated Fat: 2g
- Cholesterol: 50mg
- Sodium: 900mg
- Total Carbohydrates: 70g
- Dietary Fiber: 4g
- Sugars: 1g
- Protein: 15g